If you happen to be someone I’ve given one of the 8OD units to, this explains how to use the ‘app_hello_world’ demo.
Needed for this demonstration:
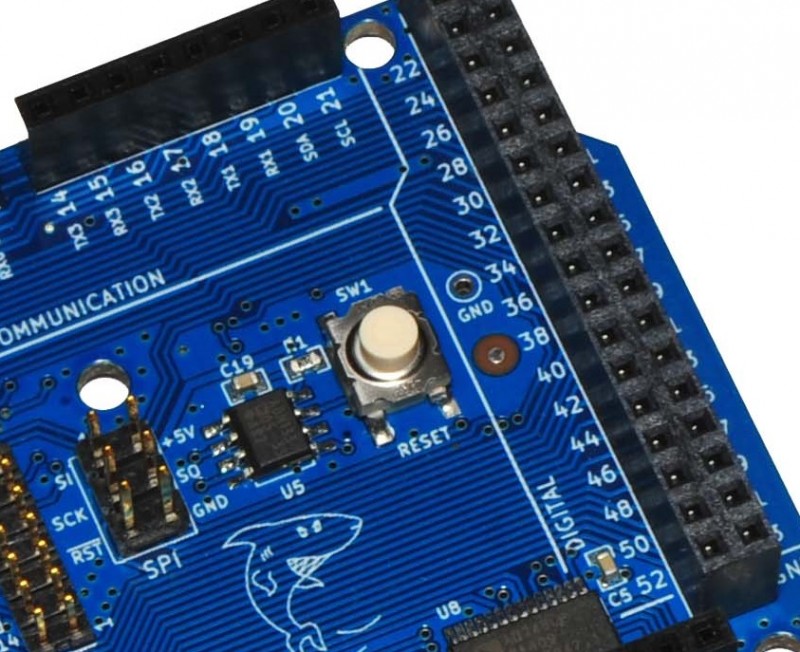
- 8OD.1 PCB with V1 Bootrom
- Cutedigi RS-232 shield
- RS-232 code download cable
- 12V 1A(or greater) power supply. 2.1MM DC Jack, centre positive.
Download software resources needed for this guide
- Open Watcom 1.7a
- 8OD SDK
- PuTTY
- Install Open Watcom
The only installation option that needs to be changed is to include the 16-bit compilers. Everything else should be left as default.

- A reboot may be needed as the Open Watcom installer changes the PATH system variable
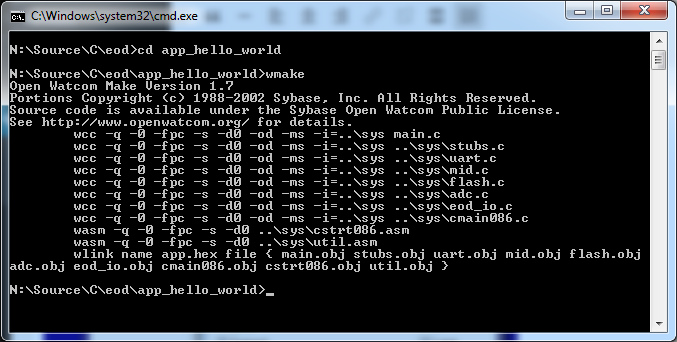
- Open a command prompt, and CD into the ‘app_hello_world’ directory included in the SDK
- Run ‘wmake’
For this demo it’s best to have two serial ports.
- Attach the Cutedigi RS-232 shield, and connect to the first available serial port. This will be the debug console
- Attach an LED to GND and Pin 2, via a 220 ohm resistor

- Attach the supplied code download cable, and connect to the second available serial port. This will be the programming port

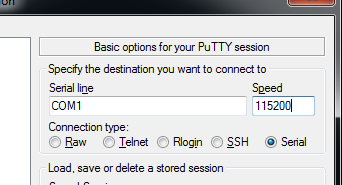
- Start PuTTY on the console serial port at 115200 baud
- Start the EodPgm app from the programmer/Binaries directory
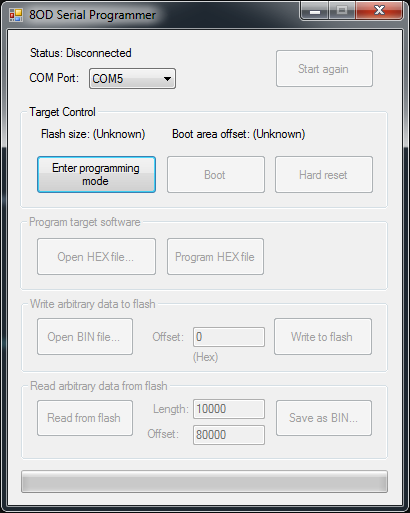
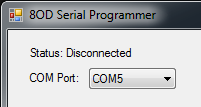
- Select the serial port connected to the code download cable
- Press the ‘Enter programming mode’ button

- Now press, and depress the reset button
The user interface should now show connected. In some cases it might not, so try it again.
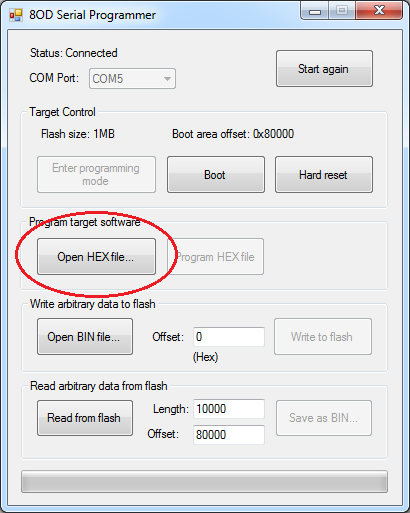
- Press the ‘Open HEX file…’ button, and select the ‘app.hex’ file in the ‘app_hello_world’ directory
- Press the ‘Program HEX file’ button
- Once completed, press the ‘Boot’ button
The programmed image will now boot and the serial programmer cannot be used again until programming mode is re-entered.
During usage you may notice that the PCB gets fairly warm. This is normal, due to the volume of 5V legacy silicon used. In particular the CPLD and the 8086 generate most of the heat.
Once again I think i can safely say your geek cred exceeds mine. I may be able to induce some jealousy with my programming setup https://olduino.wordpress.com/vcfmw/code-and-go/
Well that is certainly a pretty zany solution, but it looks easy to use. One of the most unusual features of olduino is having that second microcontroller which I can imagine has made things easier.
As tempted as I was, there was no way I was going to do that on mine. The 8086 had to do everything!
Originally I was just going to stick with EPROM only operation, but decided to go further in the event that anyone else ever wants one – 27C4002’s aren’t easy to program.
8OD’s programming solution was the largest piece of software work I’ve done on it to date. Specifically, the code in spiloader.asm which boots from the SPI flash – that took weeks of sitting behind the Logic Analyser to get working as well as it does!
yeah, i feel a bit bad about the avr, but it’s just the loader – once the 1802 is running it does everything.